Who else loves puff sleeves? They’re so cute and girly, and they add such a nice touch to any outfit. Today, I’m going to show you how to create your own puff sleeve top with this DIY tutorial. It’s super easy and fun, so let’s get started!
Step 1: Cutting the Fabric
First things first, you’ll need to gather all of your materials. For this project, you’ll need:
- Fabric
- Scissors
- Thread
- Sewing machine
- Elastic band
Once you have all your materials, it’s time to start cutting the fabric. Start by cutting two pieces of fabric for the front and back of your top. Make sure they measure the same length as you want your top to be.
Next, cut two more pieces of fabric for the sleeves. Make sure to cut them longer than you want, as we will be adding gathering to create the puff effect.
Finally, cut a strip of fabric for the neckline. Make sure it’s long enough to fit around your neck and still have a little room for seam allowance.
Step 2: Sewing the Front and Back Pieces
Now it’s time to start sewing! Take the two pieces of fabric for the front and back of your top and sew them together at the sides. Make sure to sew with right sides together.
Next, sew the strip of fabric for the neckline into a loop by sewing the short edges together. Fold it in half lengthwise and pin it to the top of your front and back pieces, right sides together. Sew around the loop with a straight stitch to attach the neckline.
Step 3: Adding the Sleeves
Take one of the sleeve pieces and sew a basting stitch along the top edge (the longer edge). Make sure to sew two parallel lines and leave a bit of thread at the end to pull later.
Next, pin the sleeve to the armhole of your top piece. Make sure to align the top edge of the sleeve with the armhole curve. Pull on the threads from the basting stitch to create gathers until the sleeve fits perfectly into the armhole. Pin in place and then sew with a straight stitch. Repeat on other side.
Step 4: Creating the Puff Sleeves
Now it’s time to create the puff sleeves. Pin an elastic band to the bottom edge of the sleeve, stretching it slightly as you go. Then, sew it in place with a zigzag stitch.
Flip the sleeve right-side out and you should see a slight puff effect. If you want a more dramatic puff, you can add more elastic bands to the sleeve, evenly spaced out. Make sure to sew each one in place with a zigzag stitch.
Step 5: Finishing Touches
Finally, it’s time to add the finishing touches. Sew the front and back pieces together at the shoulders, and then fold and hem the bottom and sleeve edges of your top.
And there you have it! Now you have your own DIY puff sleeve top. You can customize it any way you like with different fabrics, colors, and sleeve lengths. Have fun and happy sewing!
More Puff Sleeve Inspiration
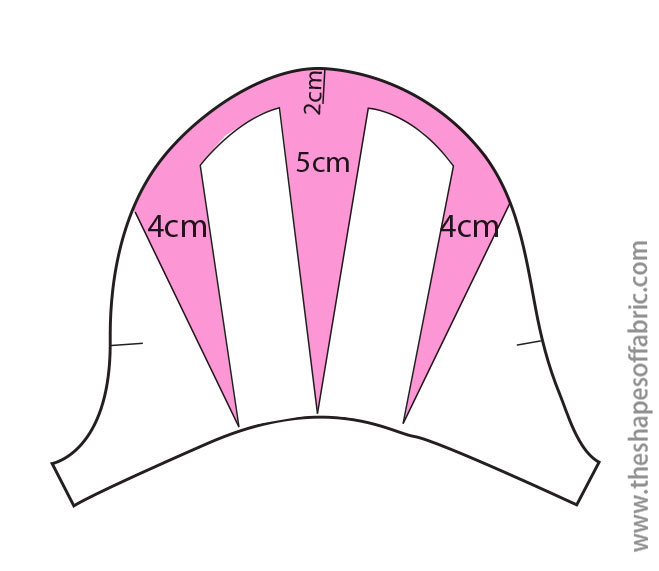
Printable Puff Sleeve Pattern Free
 If you want to create even more puff sleeve tops, check out this free printable pattern. It will make your sewing process even easier and faster, and you’ll have endless possibilities for different styles and fabrics.
3 Types of Puff Sleeves and How to Sew Them
 This tutorial shows you different types of puff sleeves and how to sew them. It’s perfect for anyone who wants to experiment with different puff styles and techniques, and it’s easy to follow along even for beginners.
Puff Sleeve Tutorial
 If you’re looking for an even more detailed tutorial for creating puff sleeves, this one is perfect. It includes step-by-step instructions with pictures to guide you through the entire process.
Shoulder Puff Sleeve Pattern
 This shoulder puff sleeve pattern is so cute and unique. It adds an extra touch of femininity to any outfit, and it’s the perfect way to try something new and fun with your sewing skills.
Conclusion
Puff sleeves are the perfect way to add some girly flair to your wardrobe. With this DIY tutorial and these amazing resources, you’ll be creating your own puff sleeve tops in no time. Happy sewing!